The approach: Mendoza to base camp
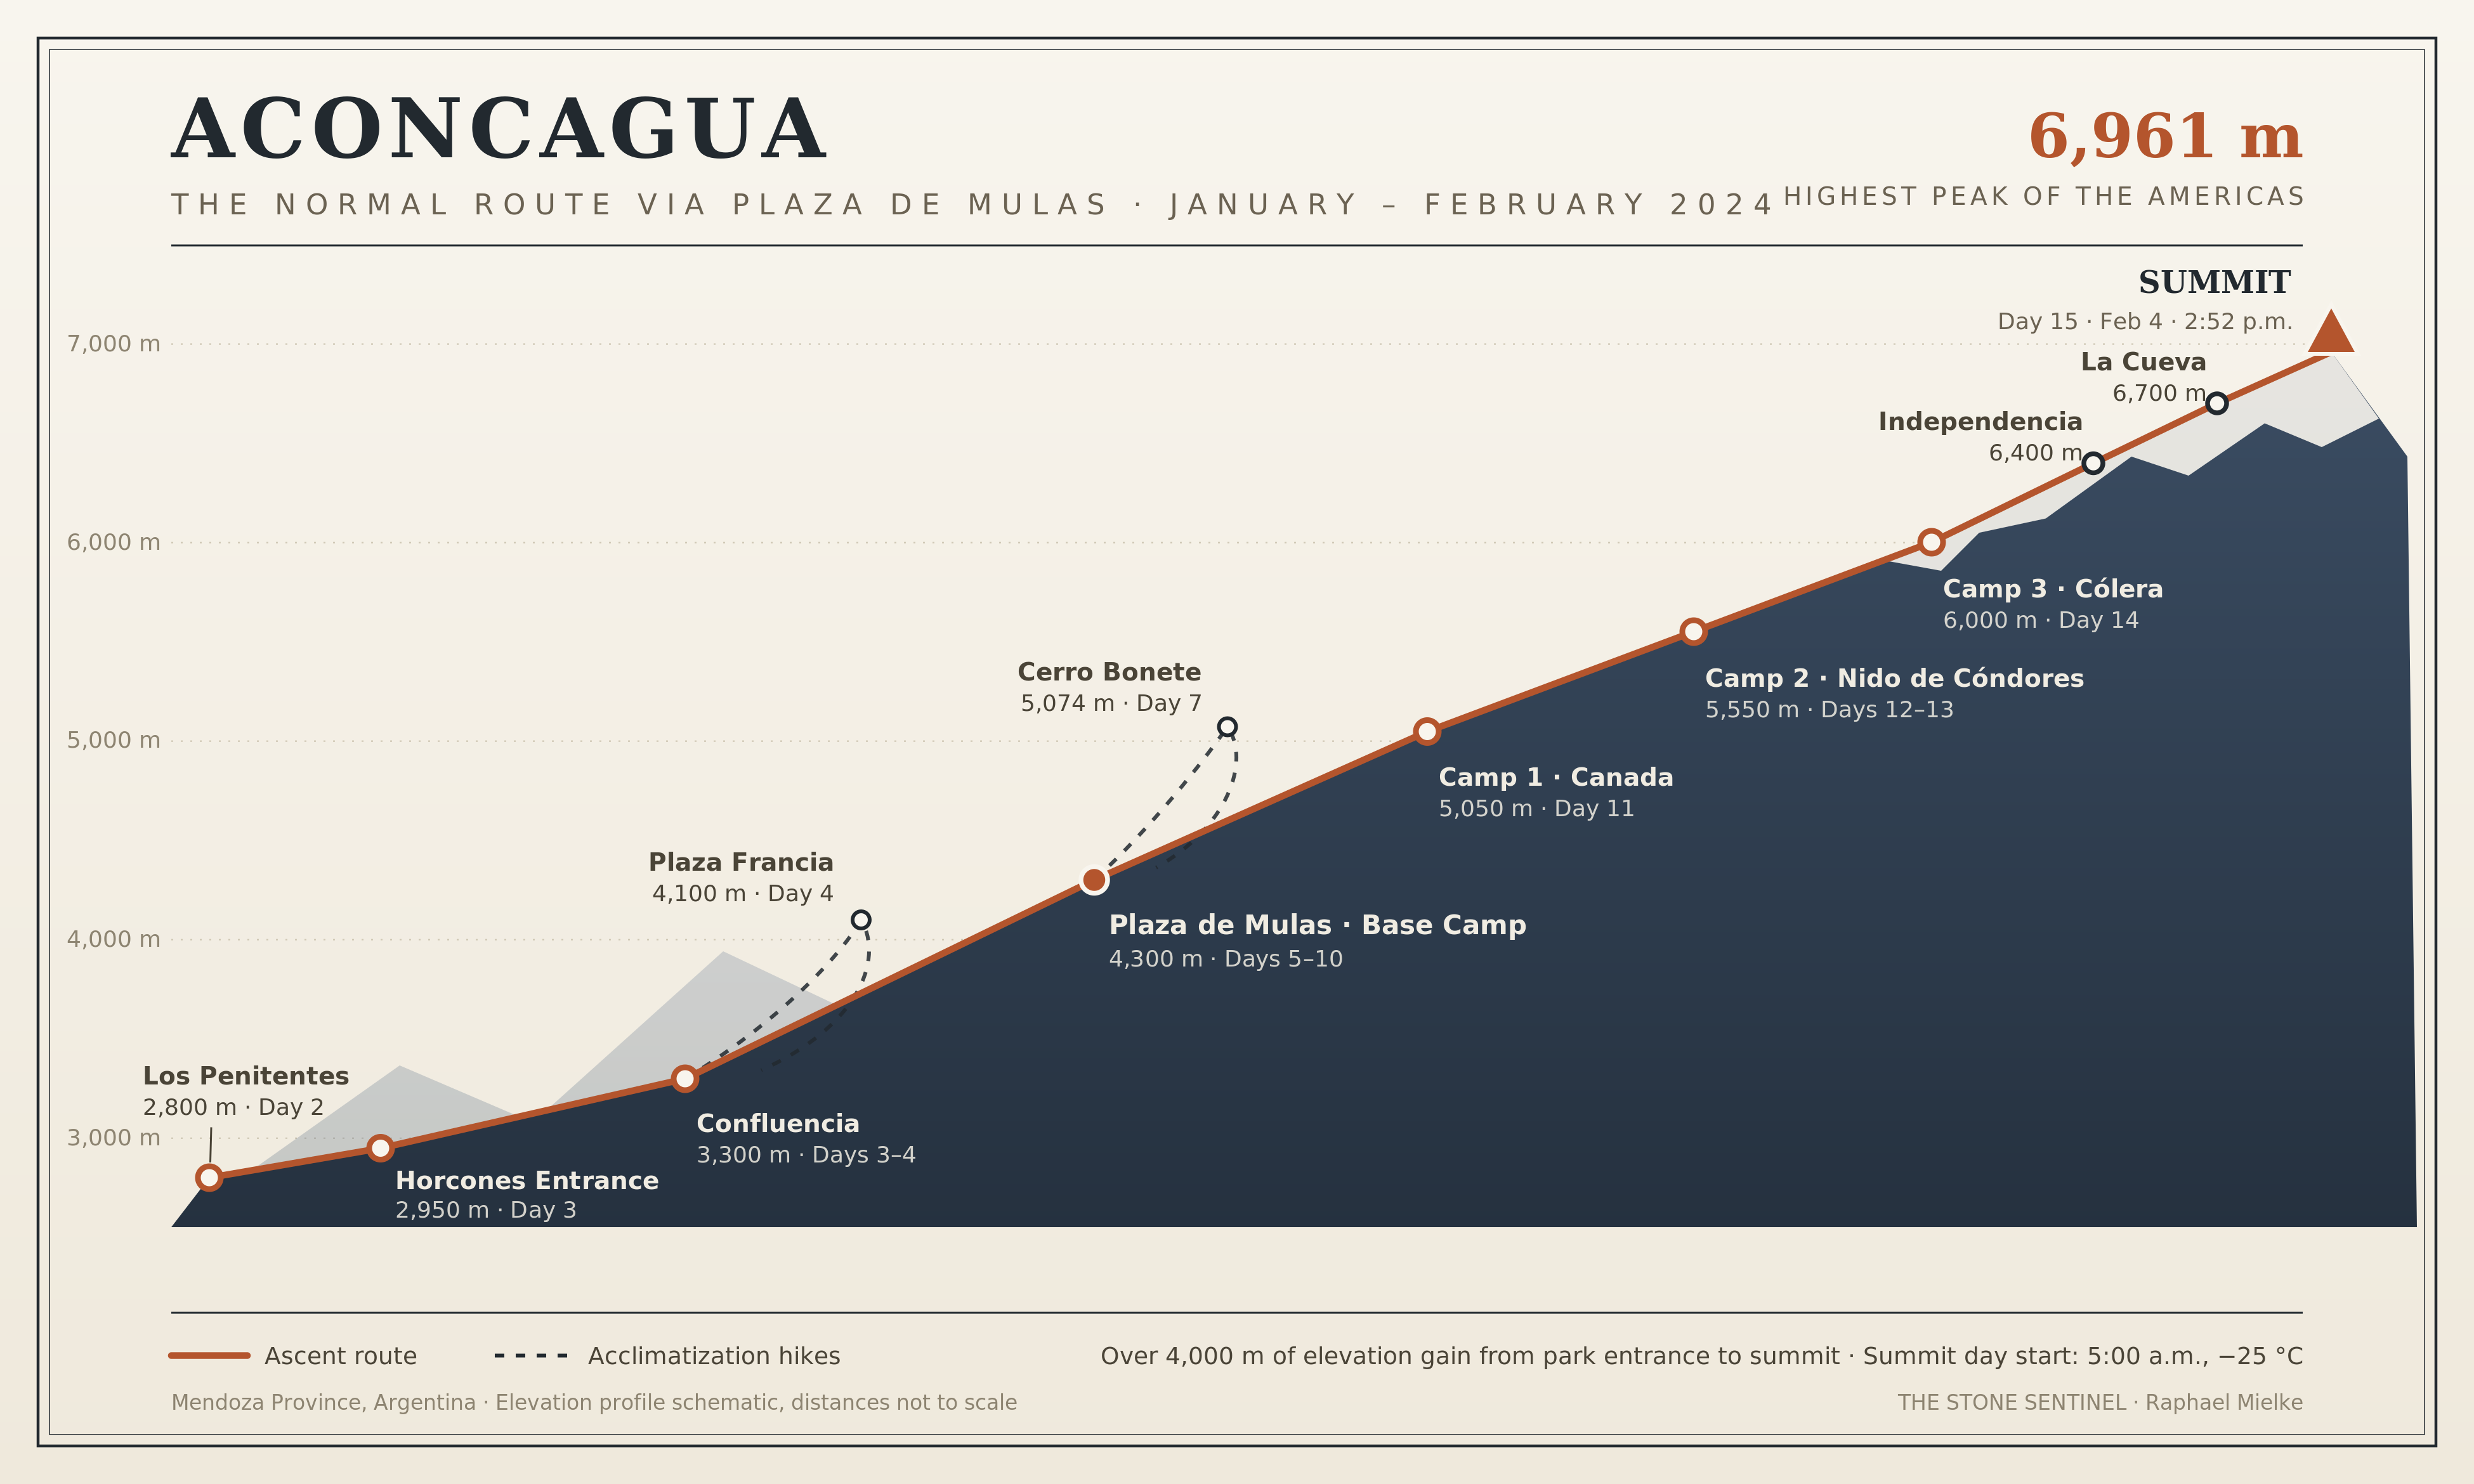
Everything starts in Mendoza (about 750 m), the wine city at the foot of the Andes: collect the permit, last purchases, gear check. From there a transfer takes you to the entrance of Aconcagua Provincial Park at almost 3,000 meters.
The first stage leads to Confluencia (approx. 3,300 m), a serviced tent camp with real cooks. From here, the acclimatization hike to Plaza Francia is worth it – facing the famous South Face: 3,000 meters of rock and ice, one of the great walls of the Andes.
Then it's on through the long, dusty Horcones Valley – the stage where mule caravans move the freight – to base camp Plaza de Mulas at around 4,300 meters: a small tent city with kitchens, medical checks, and even the highest art gallery in the world.
Acclimatization: climb high, sleep low
At base camp, the true rhythm of a high-altitude expedition begins: carrying loads to the high camps, descending again, rest days. Classic acclimatization goals are the glacier lagoon above camp and Cerro Bonete (5,074 m) – my first 5,000er of this expedition. How many rotations it takes is decided by weather and guides, not by the calendar.
The high camps
| Camp | Altitude (approx.) | Character |
|---|---|---|
| Camp 1 – Plaza Canadá | 5,050 m | First night above 5,000, an exposed shoulder |
| Camp 2 – Nido de Cóndores | 5,550 m | Wide plateau, notorious for storm – here the wind sounded like a freight train |
| Camp 3 – Cólera | 6,000 m | The springboard: summit day starts here |
From Camp 1 on, you carry your life up the mountain yourself – up to 20 kilos per stage, unless you book porters. You cook for yourself: melting snow, freeze-dried food, tea.
Summit day
Start around 5:00 a.m. in darkness and – in our case – at minus 25 degrees Celsius. The route passes the ruin of the Independencia hut (approx. 6,400 m), crosses the wind-blasted traverse (gusts up to 80 km/h for us), and enters the Canaleta: 300 vertical meters of loose scree above 6,600 meters, the toughest section of the entire mountain. The ridge leads to the summit cross at 6,961 meters.
For us: summit at 2:52 p.m., 15 hours on our feet, six of twelve participants on top. And then the most important part: the long descent, where most accidents happen – the summit is halfway, not the goal.
What other routes are there?
This article describes the normal route – the way the vast majority goes, and the way I went. For completeness, the alternatives:
- 360° / Polish Glacier Traverse: Ascent via the Vacas Valley to the Plaza Argentina base camp, descent via the normal route – "the two faces of the mountain." Hardly more difficult technically, but longer, lonelier, more spectacular, and somewhat colder; acclimatization is more gradual. The permit costs more, too.
- Polish Glacier Direct: The direct ascent over the Polish Glacier – a serious ice climb for very experienced rope teams, not a standard guided program.
- South Face: 3,000 meters of rock and ice, one of the great walls of the Andes – extreme alpinism, an entirely different sport from anything this page is about.
For a first Aconcagua, the practical choice is: normal route or 360. Both are trekking ascents without climbing sections – and the normal route even offers two summits in one expedition, thanks to Cerro Bonete.
The route as it actually feels
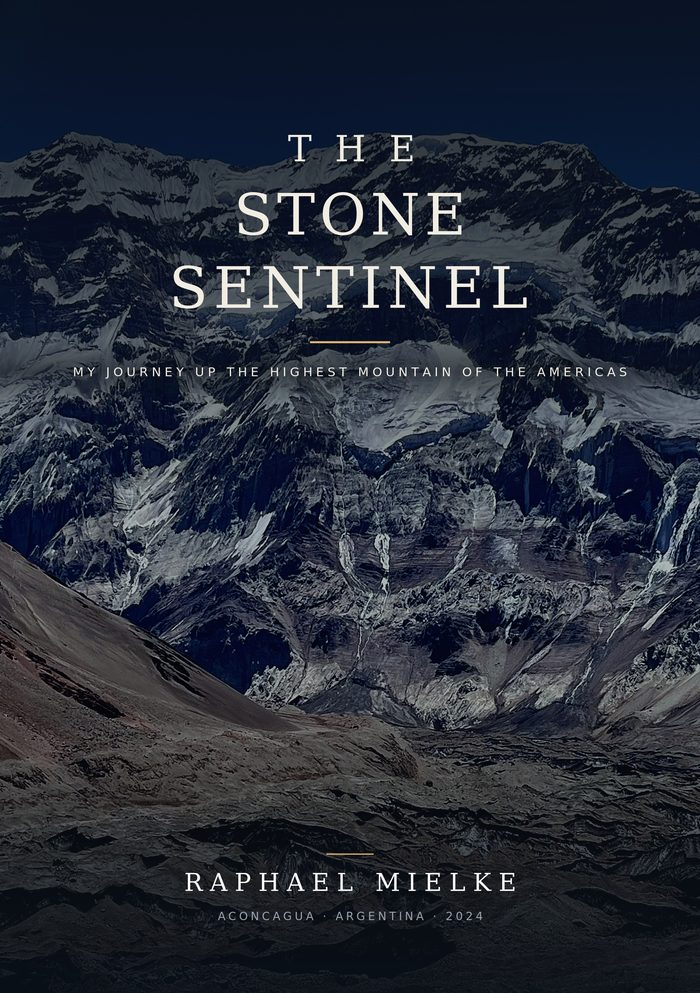
Each of these stages is a chapter in "The Stone Sentinel" – with everything that happens between the contour lines.
Get the book on AmazonKeep reading: What does the expedition cost? · Training for Aconcagua · How dangerous is it, really?
← To the full Aconcagua Q&A